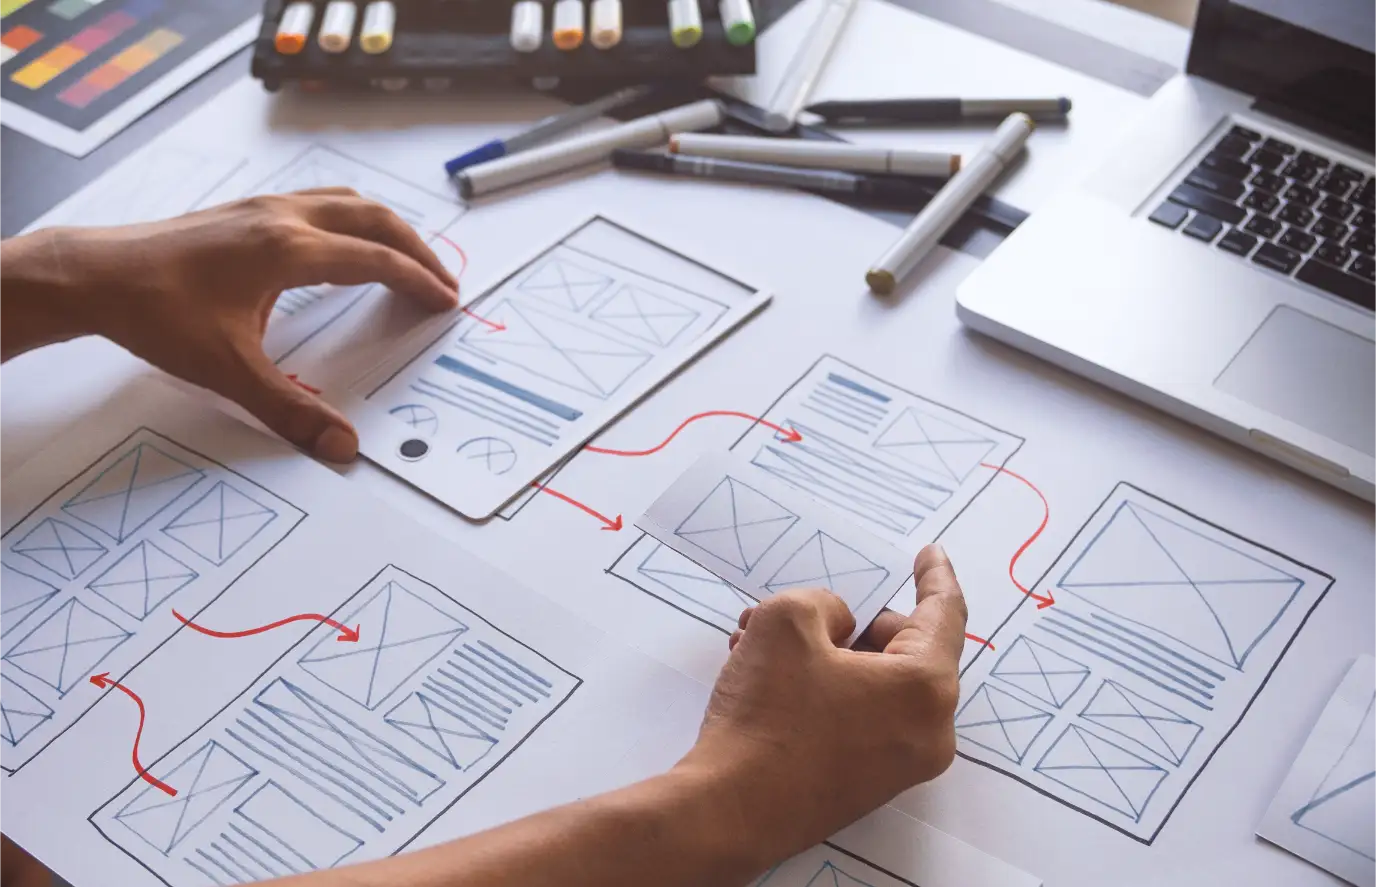
Step 1: Identify a Real-Life Problem
Every UX design project begins with a problem. Imagine the scene during finals week: a crowded cafeteria, long lines of hungry students, and frustration on everyone’s faces as they try to grab lunch between classes. The question naturally arises: Why is the school lunch line always so long? That simple question becomes the spark for a UX design project.
By observing where students hesitate, what slows them down, and how they interact with the space and staff, the design process begins. The goal isn’t to solve everything at once, it’s to start noticing pain points, and that’s enough to take the first step.
Learn How to Research With Purpose
Step 2: Brainstorm Creative Solutions with Sticky Notes
After gathering observations, the next step is to make sense of the chaos. One effective method is to jot down every idea on individual Post-it notes, no matter how wild, unrealistic, or incomplete it may seem. The goal at this stage isn’t to filter or judge, but to practice divergent thinking, letting creativity explore every possible direction.
For example:
- What if students could pre-order lunch through an app?
- What if the cafeteria had two serving lines instead of one?
What if robots delivered trays?
Once the wall is filled with colorful notes, the next step is to organize them using a technique called affinity mapping, which involves grouping similar ideas together to uncover emerging themes. Some clusters may highlight speed, others may focus on reducing confusion or easing congestion. Slowly, the chaos gives way to clarity, and patterns begin to emerge, revealing which pain points are worth addressing first.
Step 3: Sketch and Build Your First Prototype
Once ideas are organized, the next step is to choose one that feels most practical to develop further. For example, a pre-ordering lunch app could serve as a manageable starting point. Before moving into digital tools, it helps to sketch quick drafts on paper to capture the main functions and visualize how different screens might connect. Simple boxes, arrows, and labels are enough to outline the flow.
These sketches can then be transformed into digital mockups using tools like Figma (or Adobe XD). Prototyping features—such as linking screens, adding animations, and making elements clickable—allow the idea to move from concept to interactive design. At this stage, the project begins to feel real, bridging the gap between imagination and a tangible solution.
Step 4: Test Your Design and Gather Feedback
With a prototype in place, the next step is to share it with others and gather feedback. This can be as simple as presenting the design to a small group, such as classmates, a club, or friends, to observe how people interact with it. Some users may find features intuitive, while others may point out areas that feel confusing or inconvenient, such as a button that is difficult to locate.
Instead of treating criticism as a setback, this stage should be viewed as an opportunity. Careful notes, revisions, and repeated testing gradually refine the prototype. With each cycle of feedback, the design becomes more functional and user-friendly. What began as a rough idea on sticky notes evolves into a solution shaped by real users’ experiences. Ultimately, this step reinforces an essential truth of UX design: it’s about learning, iterating, and growing until the solution truly meets users’ needs.
Step 5: Improve Your Project Through Iteration
Testing is rarely a one-time activity, it’s an ongoing process. Each time someone interacts with a prototype, new insights emerge. A button might be difficult to locate, or a step may feel unclear. Treating testing as a cycle of revision, improvement, and user feedback ensures that the design continues to evolve toward a more effective solution.
When the prototype was shared in class, the conversation didn’t focus on fonts or colors. Instead, students asked how the app could make lunch faster and less stressful. This highlights a key principle of UX design: it isn’t about aesthetics alone—it’s about solving real problems for real people.
To strengthen the design, feedback should be gathered from a wide range of users. Running surveys or interviews with students from different backgrounds helps surface challenges and ideas that might otherwise go unnoticed. With broader input, the design becomes more inclusive and effective.
Sometimes, a small project can grow into something larger. As prototypes improve and gain support, opportunities may arise to collaborate with peers, such as coding partners or fellow designers, to continue developing the solution. Along the way, the process not only teaches lessons about iteration and problem-solving but also builds teamwork, creativity, and shared purpose.
How Design Thinking Brings Ideas to Life
The journey from observing the lunch line to creating a prototype reflects what designers refer to as the design thinking process. It begins with empathy, stepping into someone else’s shoes to understand their challenges. From there, the next step is defining the problem, turning observations into a clear, focused question to solve. The process then moves into ideation, where as many ideas as possible are brainstormed, regardless of how ambitious they may be. Once a promising direction is chosen, prototyping transforms the idea into a tangible form that others can interact with. Finally, testing gathers real user feedback, highlighting what works and what needs improvement.
These steps don’t always happen in a straight line. Testing may reveal new insights that lead back to ideation, or prototyping may uncover a need to redefine the problem. The cycle repeats, each time leading to a clearer understanding of the issue and a stronger solution.
This is the power of design thinking: it turns curiosity into action and equips high school students with the tools to create solutions that truly make a difference in everyday life.
How High School Students Can Get Started With UX Design
You don’t need fancy gear to start designing. As a high school student, you already have plenty of tools right at your fingertips. Whether it’s your smartphone, laptop, or just some paper and pens, the key is to utilize what you have creatively while learning step by step. Here are some easy steps to get you started, along with free tools you can use every day to bring your ideas to life:
- Find a problem in your school or community: For example, look for small everyday annoyances or ask friends what bugs them.
- Observe those tiny moments: Observe how people respond to the issue. Take notes or record short clips (with permission) using Notes app (iPhone/Android), Google Docs, or Notion.
- Brainstorm solutions: Sketch, write, or map out ideas. Focus on quantity first, and worry about quality later. Sketching can be done either on pen and paper or using a tool like Jamboard, Miro, FigJam, or Canva Whiteboard.
- Make a prototype: Create a rough version of your idea that people can see or try. Some popular tools that designers use include Figma (for app or website design), Marvel App, Canva, TinkerCAD (for 3D design), Balsamiq (for wireframes), or even just paper and scissors.
- Test it with someone: Ask a friend or classmate to try it. Watch how they use it and ask what works and what doesn’t. Students can record their answers with Google Forms (for feedback), Zoom (to record test sessions), or Loom (for screen recordings)
Aralia Students Are 4x More Likely to Publish a Research Paper
UX Design Resources
For those interested in learning more about design thinking and building accessible digital tools, here are a few helpful resources:
- IDEO Design Thinking Toolkit for Educators: A great beginner-friendly guide to the design thinking process with practical exercises.
- Figma for Education: A free, powerful design tool perfect for creating prototypes and digital projects.
- Canva: An easy-to-use graphic design platform with templates that help you make visuals, presentations, and prototypes quickly.
- Marvel App: Simple prototyping software that lets you turn sketches into interactive mockups with no coding required.
- Google for Education | Applied Digital Skills: Free project-based lessons on digital tools and creative problem-solving.
Feel free to explore these tools and guides. Remember, the best project starts with curiosity and a willingness to try. Keep exploring, keep learning, and happy designing!
🌱 Go Further With Aralia’s Research & Writing Programs
At Aralia, we don’t just prepare students for UX research, we help them build a strong academic foundation. Our research classes teach students how to develop original projects, conduct meaningful investigations, and present their findings with confidence. Paired with academic writing classes, students learn how to structure arguments, refine their voice, and produce work that meets university-level standards. These skills empower students not only to excel in competitions but also to thrive in college and beyond.


